Buy anything from 5,000+ international stores. One checkout price. No surprise fees. Join 2M+ shoppers on Desertcart.
Desertcart purchases this item on your behalf and handles shipping, customs, and support to UAE.
🔧 Power your iPhone 7 like a pro—DIY battery upgrade made effortless!
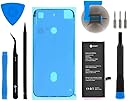
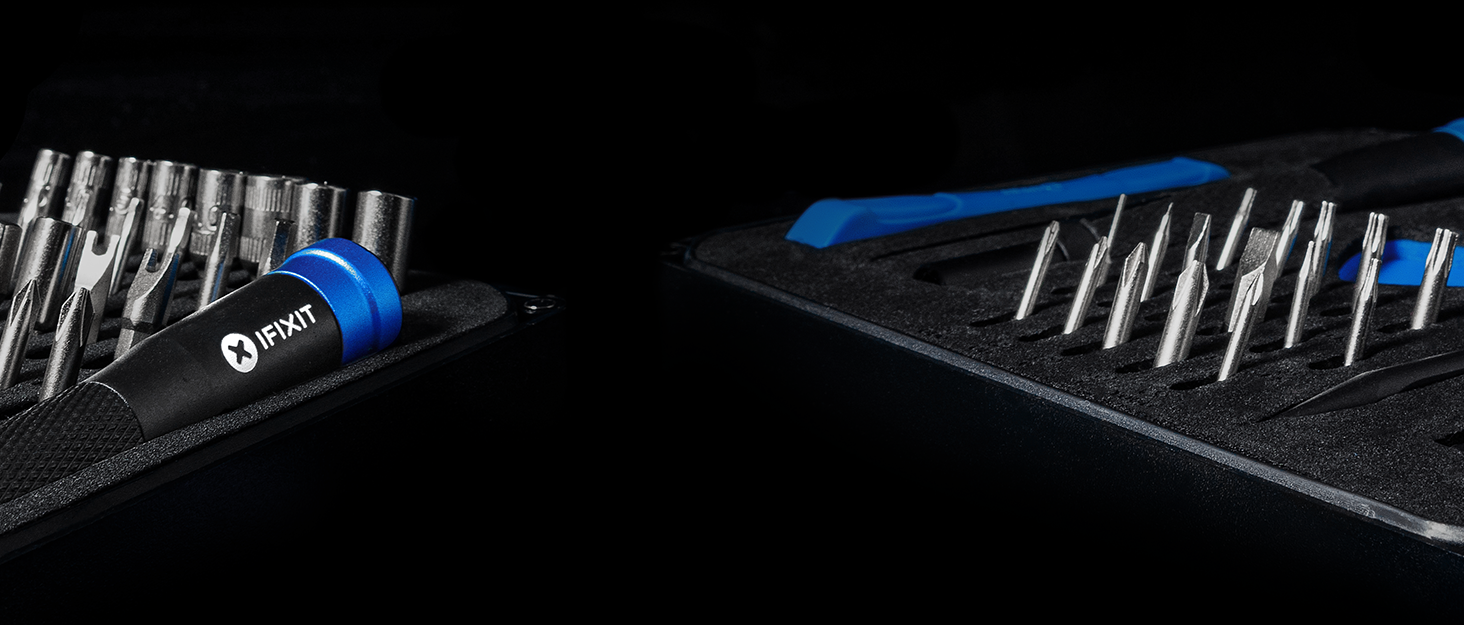
The iFixit Battery Compatible with iPhone 7 Repair Kit offers a high-capacity 1960mAh lithium-ion battery tested for 95%+ capacity and zero cycles. It comes with all necessary tools and adhesive for a complete DIY replacement, compatible with multiple iPhone 7 models, and includes a 1-year warranty for peace of mind.


| ASIN | B07TVVPZ8V |
| Antenna Location | Iphone |
| Battery Capacity | 1960 Milliamp Hours |
| Battery Cell Composition | Lithium Ion |
| Battery Cell Type | Lithium Ion |
| Best Sellers Rank | #52,135 in Cell Phones & Accessories ( See Top 100 in Cell Phones & Accessories ) #237 in Cell Phone Repair Kits |
| Brand | iFixit |
| Customer Reviews | 4.3 out of 5 stars 138 Reviews |
| Item Dimensions | 2.14 x 1.36 x 0.14 inches |
| Item Weight | 0.51 Pounds |
| Manufacturer | iFixit |
| Model Name | iPhone 7 |
| Number of Batteries | 1 Lithium Ion batteries required. |
| Recommended Uses For Product | Iphone |
| Reusability | Rechargeable |
| Unit Count | 1 Count |
| Voltage | 3.8 Volts |
| Warranty Description | One Year Guarantee |
S**E
Great kit, especially if you're comfortable with DIY projects.
The kit contained all of the tools needed to replace my iphone battery. Online videos were also very helpful (and necessary) as well. There are a few steps in the process that are more difficult than they appear, including opening the case itself, and reinserting very tiny screws when reassembling the iphone. The entire process is straightforward but perhaps not for someone who isn't used to doing DIY projects. Overall I'm very happy with this purchase.
M**E
Works, but do your homework and prep.
When using iFixit website guidance, be certain to open comment to each step. Those comments are from previous performers of the replacement. Those comments are crucial, as are review those YT videos, for successful completion. Know that cotton swabs, lint free cleaning clothe, and alcohol are required to adequately clean off old seal. PLEASE make sure battery placement is aligned with cable connector before making battery permanently adhered. Repair Kit tools are most beneficial.
Y**N
It can be tougher than you think to get it done by using these tools ~ ~ ~
In general I like the product. All the parts are in good quality. However, 1.5 complaints I have at this point. First, it's very hard to open the front glass from the phone by using the given tools. It's fairly tight and the blue color chip can barely get in for me to open it (additional tool might need to get this done, or, it should be improved). The other 0.5 thing is, the glue underneath the old battery is hard to remove. In my case, it broke half way even though I tried to be very gentel. None of the given tools are helping on this issue. In the end, I still manage to get it done with quite some effort though.
M**S
works
my iphone 7 no longer dies 5 minutes after being unplugged. installation was as simple as it could be, the supplied tools help a lot.
D**A
Be sure to take your time, read instructions carefully, and use magnifying lens/good glasses
I received the iFixit battery and repair kit for my regular size iPhone7 smartphone. All tools and battery came in a nice box labelled with the expression 'You can do this!' And I would say many folks could indeed do it BUT it takes some patience, strong focus on the instructions, and a good magnifying set of glasses or lens as the screws that need to be removed are tiny. Pay special attention to the type of screw head that is being removed as you have 3 different types of them and, accordingly, 3 different types of screwdriver heads are included in the repair kit. The toughest part of the process for me was the initial action of removing the screen. I did apply some bit of heat from a hand-held hair dryer to soften/loosen the adhesive for holding the screen in place. Also by using the small thin plastic wedge I finally coaxed the lower left side of the screen up and heated a little more and continued coaxing up along the screen's left side (the directions ask you to avoid opening up the right side). From there I wedged up both bottom and top edges of the screen and just a tiny bit at the top/bottom of the right side. There are 2 connections holding the top of the screen onto the phone's frame - so the directions ask that you use a little downward force to finally open screen like the cover of a book opening toward the right side. (I did not remove the one part which would allow me to remove the screen from the frame). After that process is complete, read the instructions and TAKE YOUR TIME in removing key screws and parts in order to get the old battery out. For instance, there are 2 sticky tape tabs that need to be removed from under the old battery - take your time and pull them out slowly - the tape is very stretchy and will come out completely if you pull slowly and continuously. Beyond all this - KEEP TRACK OF THE SCREWS/PARTS THAT WERE REMOVED - as you replace everything in reverse order of removal. With my big fingers and 2 pairs of reader glasses, I was successful with the process. It took me 3.5 hours though as it was my first time at this rodeo and I took my time! You can do it!!
K**I
Not worth it
Do not recommend. I got really good first impressions, as it comes in nice packaging and comes with nice tools. The battery was great at first, just like new, but after a little over a month of usage my battery life is no better than it was before (which was terrible) and my phone keeps dying around 15%. NOT WORTH IT UPDATE: the battery is swelling a lot, it’s starting to push my screen out of my phone UPDATE 2: the battery swole so much it snapped my screen and completely dislodged it out of my phone, and you could smell battery fumes if you got anywhere near the phone. hasn’t even been two months since i received and installed the battery. very very disappointed in ifixit.
P**R
lasted 2-1/2 years before swelling
Update 2/22/2026: I bought and installed this in July 2023. Today I discovered the case has swelled up so severely it’s pushed out both left and right sides. original: Installation took time but went smoothly, the tools and gasket were very useful and worth the extra cost imo. Update: The phone must have been on and not in airplane mode without me realizing it. To test that I left it three days in a cradle unplugged in airplane mode and it’s only lost 7% of charge. Rating 5 stars Original: The phone is no longer used daily, it’s a backup so I fully charged it and then shut it off and put it in a drawer. A week later got it out and the battery was down at 1%. It’s possible this is not unusual and it needs to be charge-cycled but it was surprising and I will modify this review once I know one way or the other if this behavior is permanent. Rating 3 stars
J**N
Its really nice
Its a good battery kit and comes with more adhesive, works for me, and instructions on website were easy to follow!!! Fixed a iphone 7
Trustpilot
2 days ago
2 weeks ago